
School buses are an integral part of student transportation and sanitation is paramount in helping to keep students safe and healthy. With the winter season fast approaching, it is even more important to be sure that your school bus sanitation process is up-to-date and effective. Not only can proper sanitation help prevent the spread of colds and other illnesses, but it can also reduce the risk of more serious diseases. In this article, we will provide tips and steps for proper sanitation of your school buses to ensure students stay safe during the winter months. Read on to learn more about sanitation processes for school buses and how you can create a clean environment for everyone.
Before Getting Started:
There are some brief steps to take before beginning the actual task of bus sanitation. This includes the gathering of cleaners and materials, as well as forming a game plan to determine which areas need the most attention.
1. Select a high-quality products.
When it comes to cleaning and disinfecting products, quality is key. Look for products that are non-toxic, antibacterial and those that are capable of disinfecting the interior and exterior surfaces of the bus. The best repertoire of products will include a cleansing/cleaning agent and a disinfecting agent as well. If your school district is large, consider purchasing cleaning products in bulk quantities, and be sure to look for bulk discounts and deals that can help you save money.
2. Collect the correct tools.
It is important to identify the tools and supplies you will need for effective school bus sanitation. Once you have gathered all of your cleaning and sanitizing agents, you will need to gather all of your cleaning tools. This includes cleaning cloths, buckets, spray bottles, and the like. Keep in mind that mops are not as always as great at cleansing dirty areas and can, more often than not, spread dirt around if the area has not been cleaned in awhile. However, those who still prefer to mop will need to remember to collect brooms and dust pans as well, and utilize these before beginning the mopping process.
3. Consider investing in touchless cleaning tools.
While often pricey, touchless cleaning tools are sometimes the best tools to properly clean and sanitize your bus fleet. Advanced devices like “spray and vac” vacuums have minimal contact with surfaces such as floors, which is a beneficial attribute, as any direct touch could increase the odds of viral loads and dispersing them in a particular area. These can also help to speed up the overall sanitization process, saving your district labor costs, as well.

4. Identify high-contact and high-touch points.
Before beginning the sanitation process, it is important to identify which areas of your school buses need the most attention. Areas such as door handles, handrails, seat backs, armrests and light switches are all high contact points that require more frequent and thorough cleaning. It is also important to be aware of any additional surfaces that are routinely touched by students and staff members.
Identifying these high-contact and high-touch areas allows you to have a plan in place for proper sanitization, which is especially important when it comes to younger children who tend to touch more surfaces than adults. By taking the time to properly understand which areas require more sanitation than others, you will be better set up for success before beginning the actual cleaning process.
Follow these steps:
Now that you have your cleanings supplies, tools and plan in place, it is time to begin the actual cleaning process. It is important to remember that cleanliness comes first before disinfecting, so be sure to clean all dirt and debris from surfaces before applying any disinfectant products.

1. Clean the floors first (start by cleaning, not disinfecting).
Although most cleaning experts recommend cleaning top to bottom, it is actually best to clean the floors first when cleaning a bus. This will allow any additional bacteria kicked up from the floors to be cleaned off all the seats and surfaces during the next phase of cleaning. If necessary, you can hit the floors one additional time at the end once all seats and surfaces have been cleaned.
2. Clean the seats and additional surfaces.
Once the floors have been addressed, it is time to tackle seats and additional surfaces. It is important to use a damp cloth to clean seats and other surfaces that were identified as high-contact points. When cleaning seats, be sure to get in between seats, underneath seats and along with any cracks or crevices on seat backs. This is also the time to pay attention to any additional surfaces that have been touched or interacted with by students and staff members.
![]()
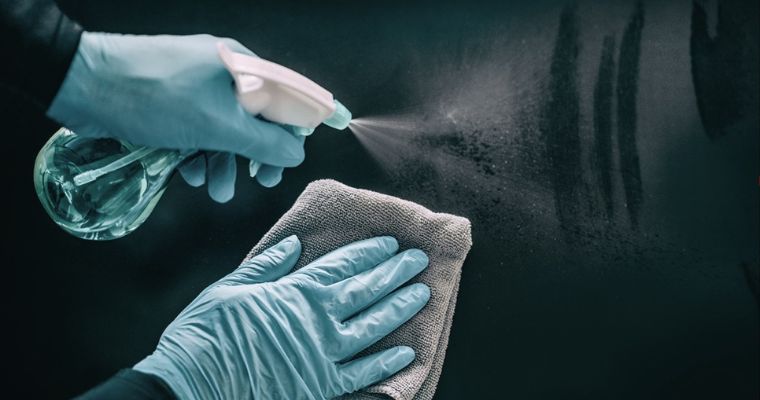
3. Sanitizing seats and additional surfaces.
Once all the seats and other surfaces have been properly cleaned, it is time to begin sanitizing them. Be sure to use a disinfectant product that has been approved by the Environmental Protection Agency (EPA) and is appropriate for the type of surfaces being disinfected. It is also important to follow all manufacturer’s instructions when applying disinfectant products, as this will ensure that you are disinfecting properly and efficiently.
4. Final touches.
Once all seats and surfaces have been disinfected, it is time for the final step in the sanitization process: disinfecting the floors. Make sure to pass over floors with a suitable cleaner once more if need be, and finalize them with a disinfectant that is safe for floors, following all manufacturer’s instructions when applying. Then, you can bask in the aura of your oh-so-clean bus, and revel in the fact that far fewer bacteria and viruses are being passed around while transporting students to and from school.
This not only keeps students safer and healthier, but it also helps to prevent the spread of illnesses to bus drivers, aides, teachers, other school staff members, families and any other individuals who may interact with students who ride the bus. Keeping a safer and cleaner environment is better for everyone involved in the long run.
By taking the time to understand which areas require more sanitation, having the right supplies and tools on hand, and following all instructions when disinfecting surfaces, you can reduce the spread of germs and help ensure safer transportation for your students. After all, a clean bus is key to creating a safer environment not only in the bus itself, but also beyond; it helps to keep everyone healthier and safer, and encourages a healthier and better overall community.
